How to Sell Used PC Hardware Online, the Modern Way
This article explains an easy way to quickly list your old computer hardware online to sell it and get paid directly to your bank account. All you need is a phone that can take good photos and you're good to go. We'll go into detail, but here's the overview of the steps we'll be taking to list and sell your old computer hardware.
- Step 1. Login to this site (chipplug.com)
- Step 2. Click on your profile icon in the header to view your profile editing page
- Step 3. Click 'Go to Stripe Onboarding' - and complete the process answering Stripe's questions, then come back here to ChipPlug.com
- Step 4. Click 'Sell an Item' in the header
- Step 5. Fill in the item's name, description, price, etc.
- Step 6. Take well lit sharply focused pictures from each angle of the item
- Step 7. Upload the photos to the product listing using the file uploader on the right of the page
- Step 8. Wait for approval (this usually only takes a couple of minutes)
- Step 9. Share your listing on Social media sites for more visibility!
- Step 10. When your item sells, make a shipping label with the customer's address and ship it out to them.
- Step 11. Get paid!
How to Easily Sell Your Old Computer Hardware Online and Get Cash Directly to Your Bank Account
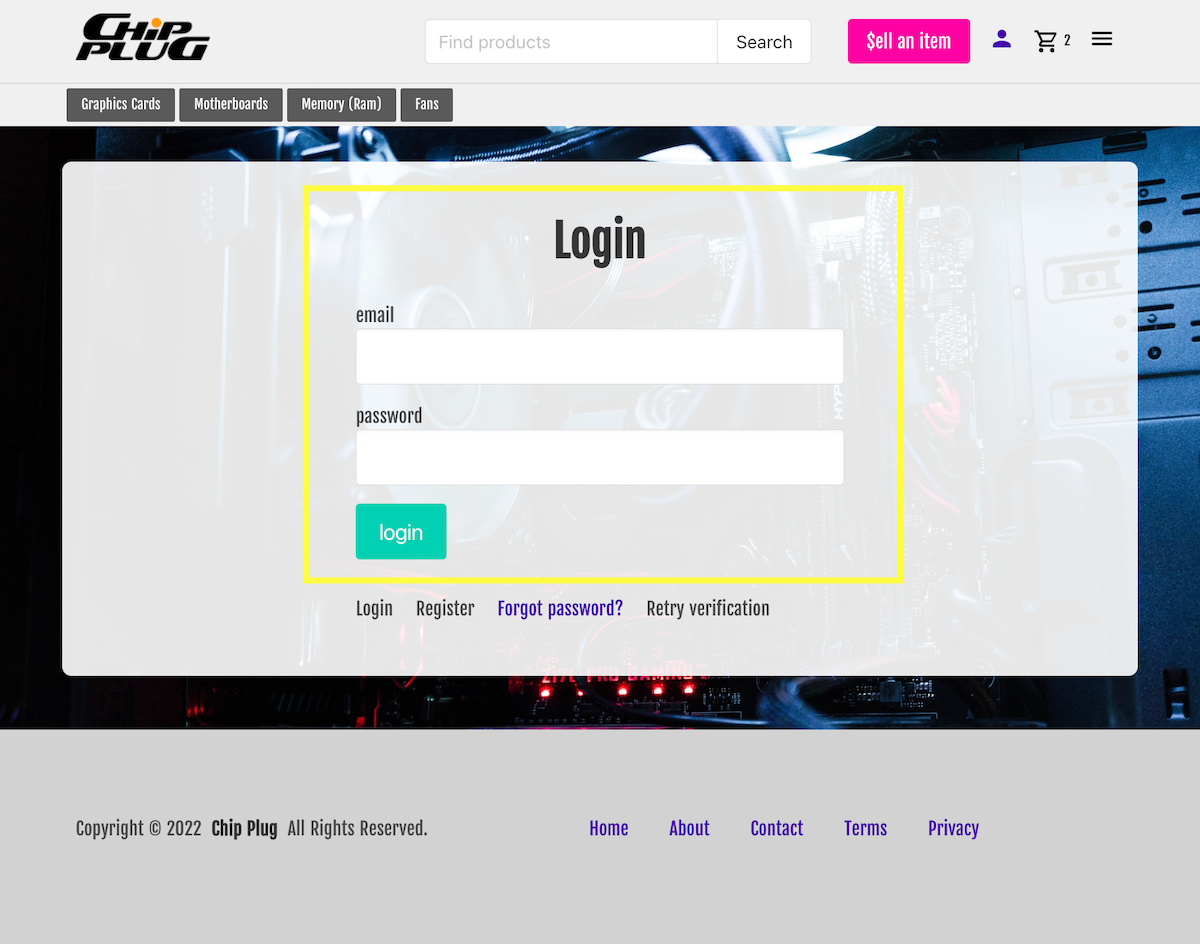
Step 1. Login
If you don't already have an account on chipplug.com, go here to create one, then login.
Step 2. Click on your profile icon in the header to view your profile editing page
Once you are logged in, go to your profile page by clicking the profile icon in the right of the header. This page allows you to make edits to your profile.
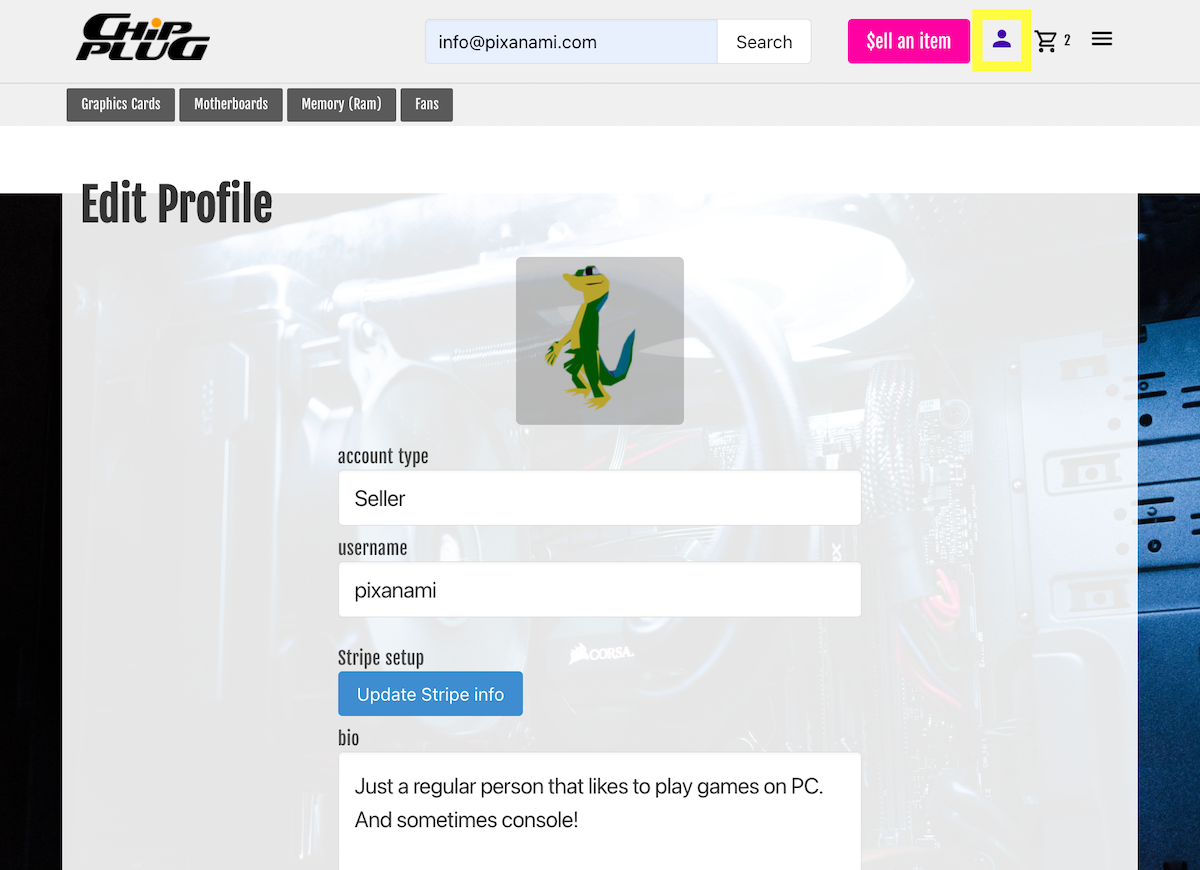
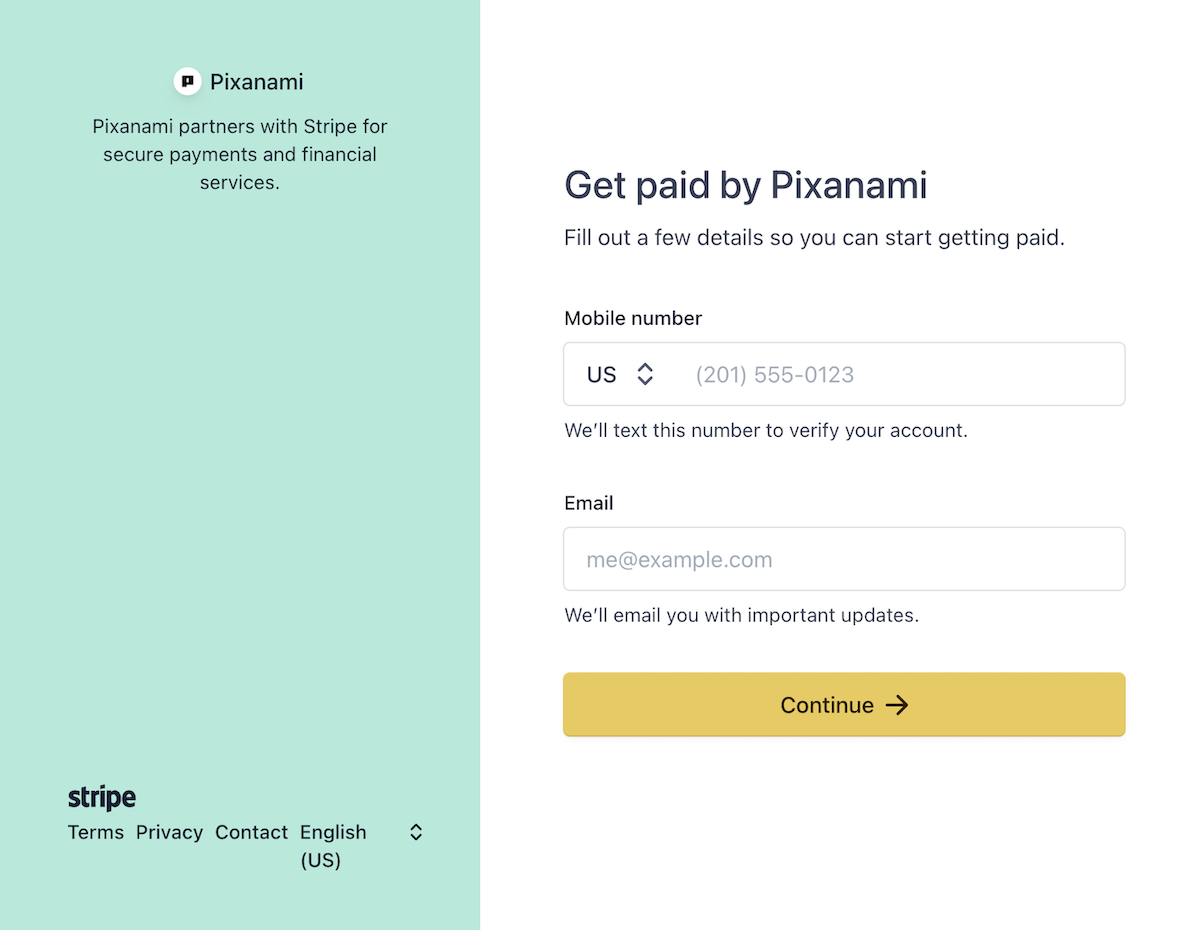
Step 3. Click 'Go to Stripe Onboarding' / 'Update Stripe Info'
Stripe has it's own Onboarding steps that you need to take to set up your banking info. This is an important step because this is how you'll get paid from sales you make on chipplug.com. It only takes a couple of minutes to complete. If you've already started the process but still have info you need to put in, the button will say 'Update Stripe Info'. If its your first time, it'll say 'Complete Stripe Onboarding'.
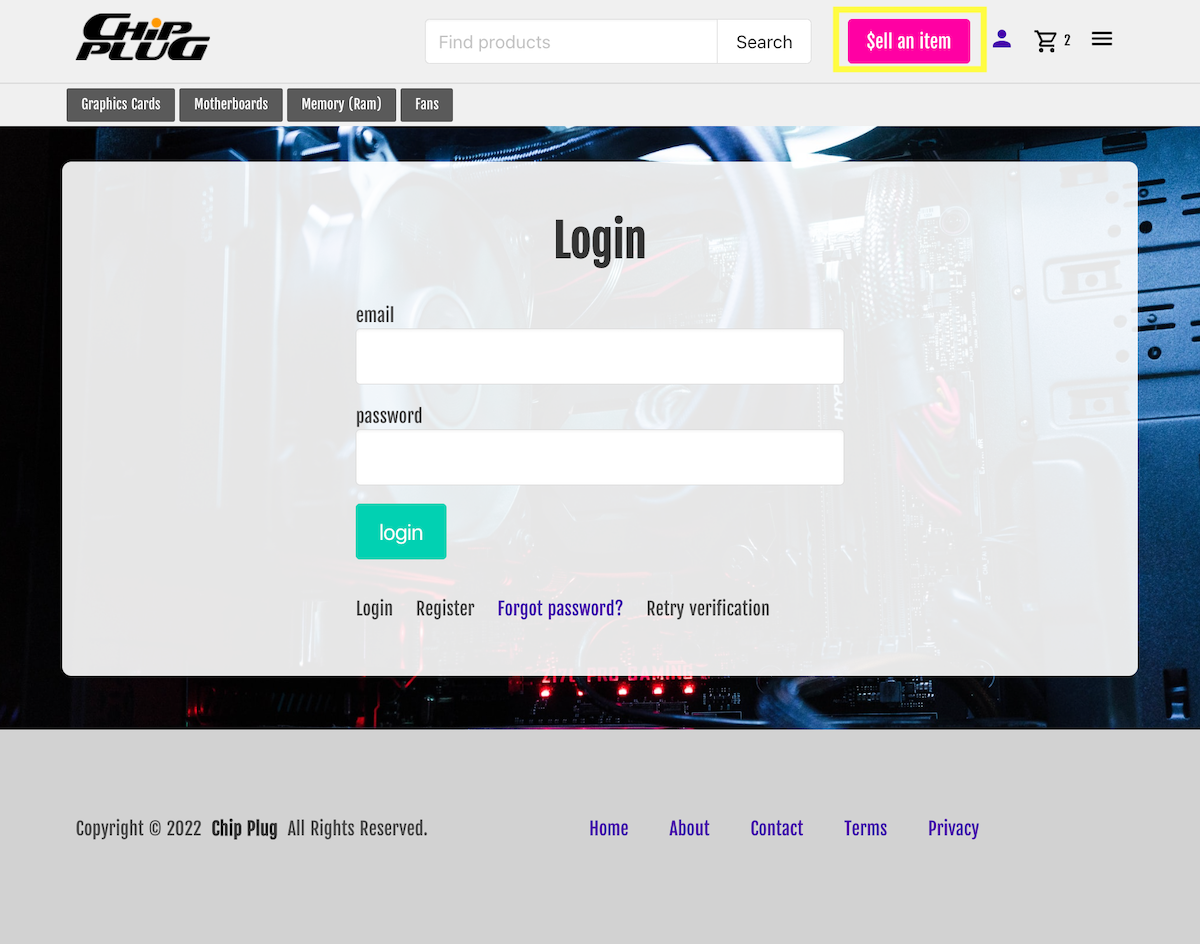
Step 4. Click 'Sell an Item'
Click the big pink button in the header that says 'Sell an Item'
Step 5. Fill in the item's name, description, price, etc.

- Name: This is the title of the listing. Make it easy for customers to find your item by giving it a descriptive name.
- Price: Here's where you set the price of your item. Remember that Chip Plug takes an 8% service fee from all transactions, so make sure to price your item high enough so that you make the profit you want.
- Shipping Cost: If you want to add a flat shipping rate to your listing, you can add that here. You can leave it blank if you just want to include the cost of shipping in the main price.
- Inventory: Use this field to set the total amount of the item you have in stock. It'll usually be 1, but its there just in case you have multiple of the item to prevent having to create a bunch of duplicate listings.
- Weight, Length, Width, Height: These four fields are where you specify the weight and physical dimensons of the item as it would be shipped.
- Sku: This isn't required, but if you track your product with skus, you can put that here.
- Condition: Select the condition that the item is in. Is it brand new? Has it been used? You can specify that here.
- Description: Here's where you can put all the details about the item, like performance specs, any issues with it, etc.
- Location: This field is optional, but you can use it to get your current location and save it to the listing. We're working on a feature that will allow searching products withing a certain radius of the user. This will be used for that.
- Tags: Select tags to categorize this listing and make it easier for users to find.
Step 6. Take well lit sharply focused pictures from each angle of the item
It's proven that when purchasing used items online, customers gravitate towards items with the best photos. The secret to getting good photos is having good, even lighting, and making sure the photos are in focus. It also helps to use a backdrop for the photos so that the background doesn't distract users from the item. You can make a white backdrop pretty easily with a piece of posterboard.

Step 7. Upload the photos to the product listing using the file uploader on the right of the page
Upload the item's photos by either dragging and dropping them onto the box that says 'Drag image files here', or just click on that aread to bring up the file selection on your device and select images from there.

Step 8. Wait for approval (this usually only takes a couple of minutes)
Once you save your listing, it'll go into a queue to be reviewed by a moderator. As long as everything follows our terms of service, the item will be approved within a few minutes and go live on chipplug.com. You'll get an email notifiying you when this happens.
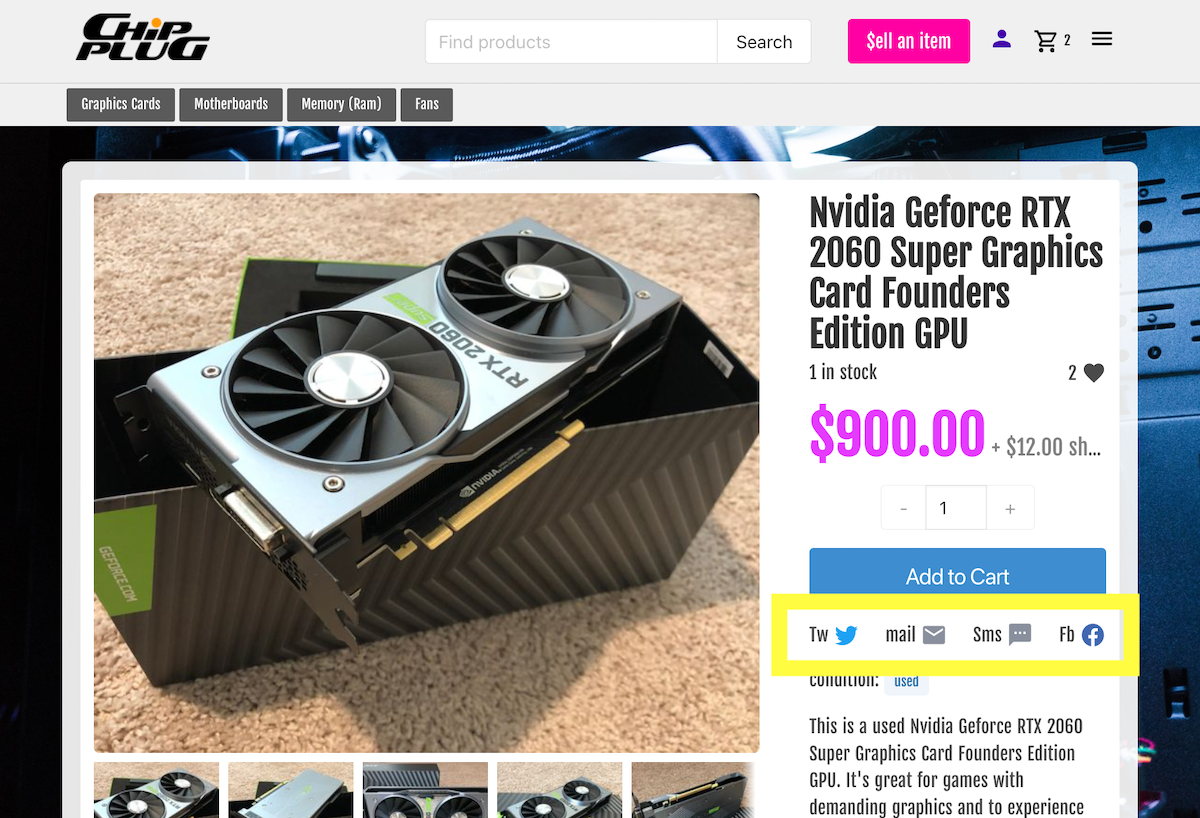
Step 9. Share your listing on Social media sites for more visibility!
Once your listing is live, share it on your social media profiles to help get it seen!
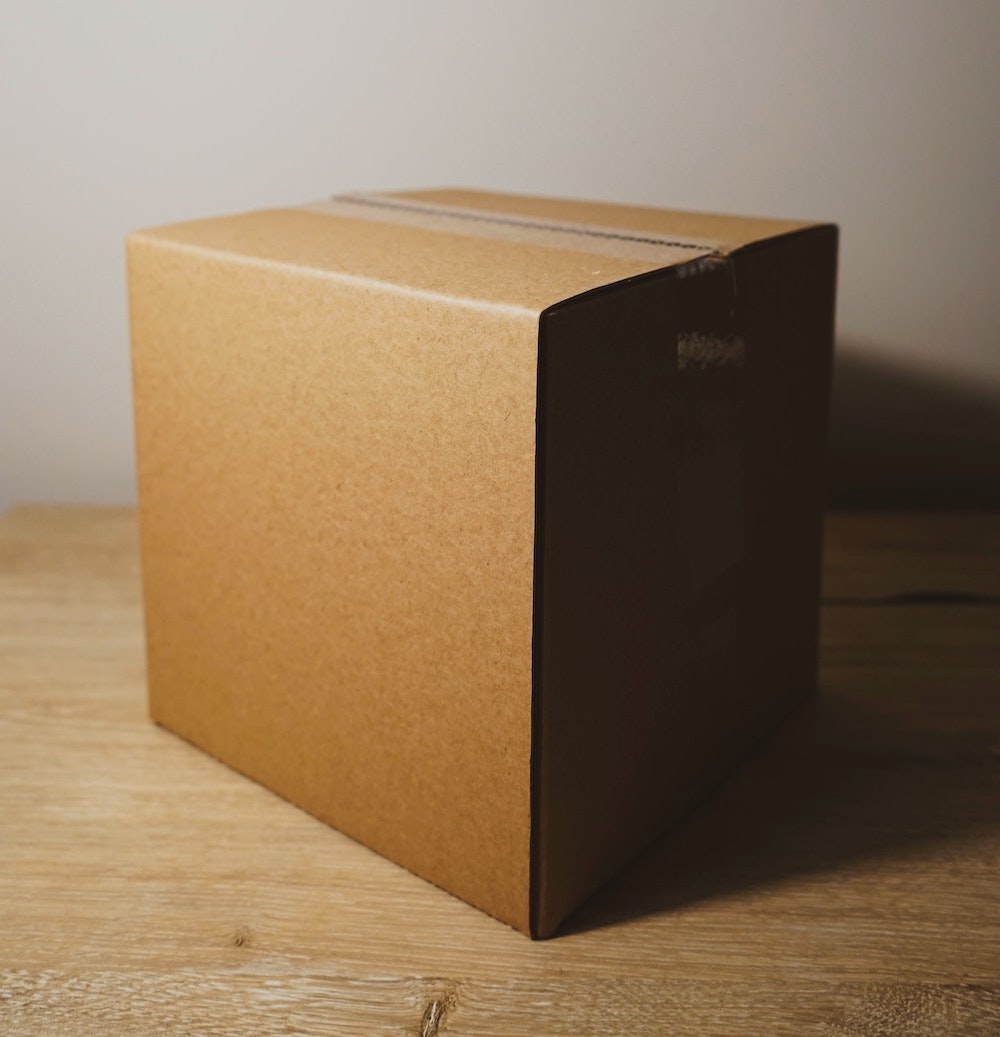
Step 10. When your item sells, ship it out to the customer.
Congratulations! You've made your first sale! Now, you need to ship it out. When you make a sale, you'll get an email notification that contains the items you sold and the address they need to be shipped to. Create a label using that info and ship out the package to your customer.
Step 11. Get paid!
Now check your Stripe account and watch the money pile up!